
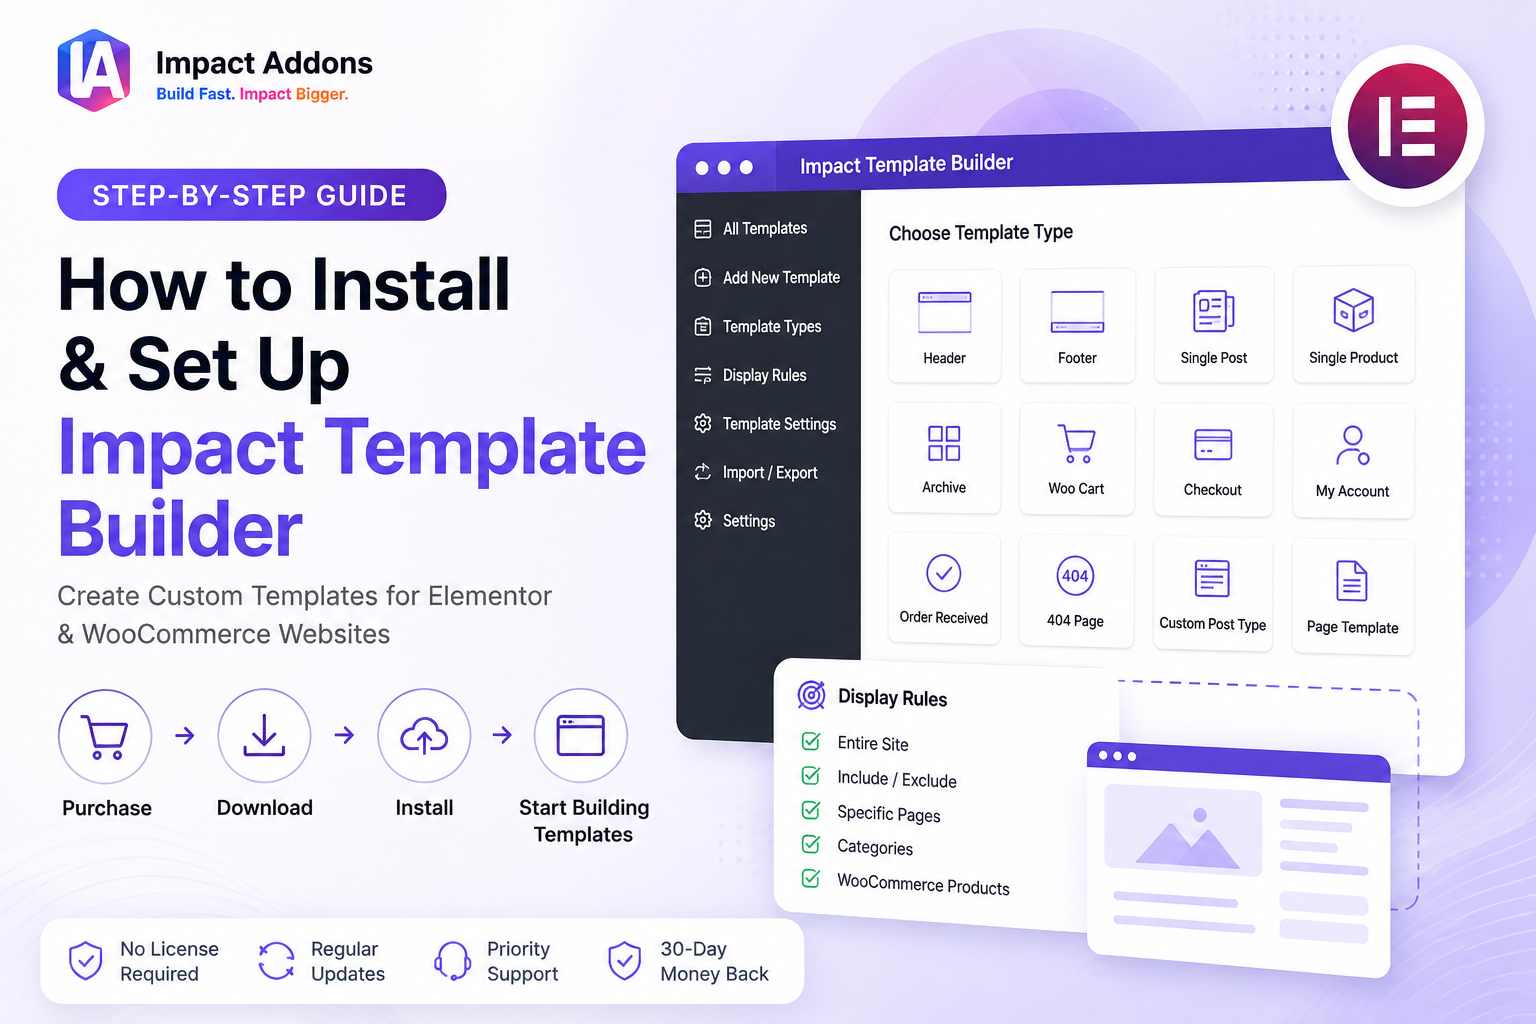
If you’re looking for an easy way to design custom website templates with Elementor, Impact Template Builder gives you everything you need. Build professional headers, footers, single posts, WooCommerce templates, archive layouts, 404 pages, and more using Elementor’s visual editor—without writing any code.
This guide walks you through the complete setup process, from purchasing the plugin to installing it on your WordPress website and accessing the available template features. Whether you purchase the standalone plugin or the complete Elementor Bundle, getting started only takes a few minutes.
Step 1 – Choose the Right Plan
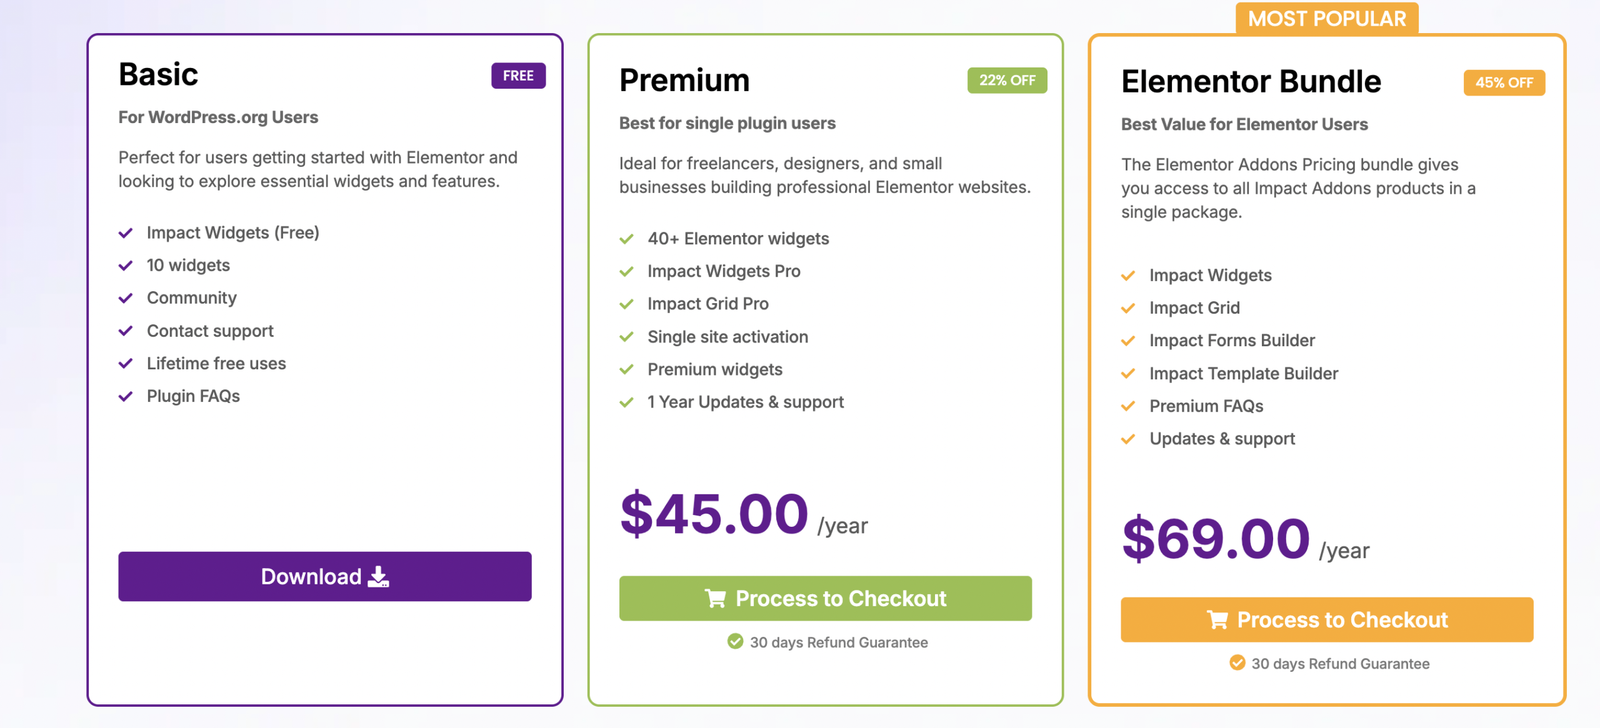
Before installing the plugin, you’ll need to purchase Impact Template Builder.
You can choose between two options depending on your requirements.
Individual Plugin
Purchase Impact Template Builder if you only need advanced Elementor template building features.
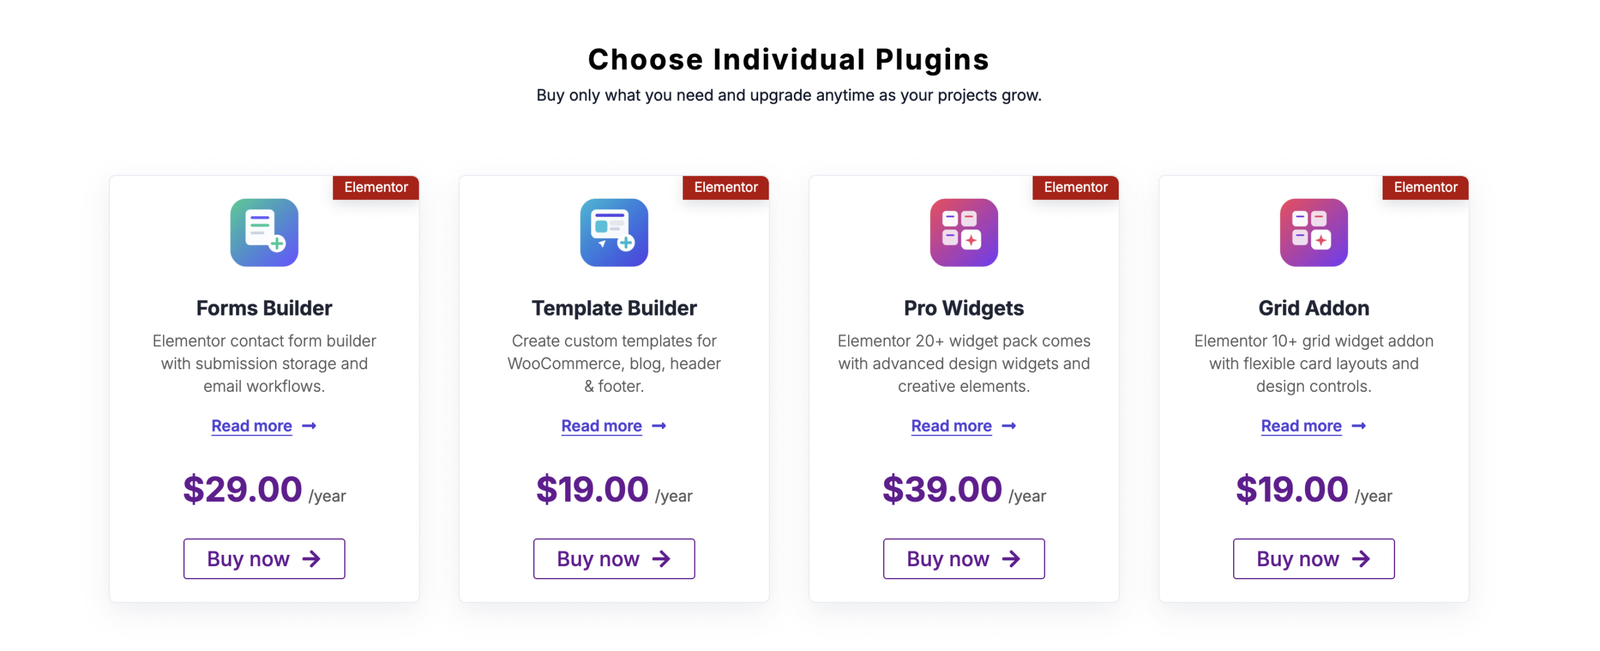
The plugin includes:
- Premium Template Builder Features
- One Year of Updates
- Priority Support
- 30-Day Money Back Guarantee
Elementor Bundle (Recommended)
If you’re building complete WordPress or WooCommerce websites, the Elementor Bundle offers the best value.
The bundle includes:
- Impact Template Builder
- Impact Forms
- Impact Widgets
- Impact Grid Addon
This gives you a complete toolkit for building dynamic Elementor websites from one package.
Helpful Links
Pricing : https://impactaddons.com/pricing/
Impact Template Builder : https://impactaddons.com/impact-template-builder/
Impact Forms : https://impactaddons.com/impact-forms-for-elementor/
Impact Widgets : https://impactaddons.com/impact-widgets-for-elementor/
Impact Grid Addon: https://impactaddons.com/impact-grid-addon-for-elementor/
Step 2 – Purchase Impact Template Builder
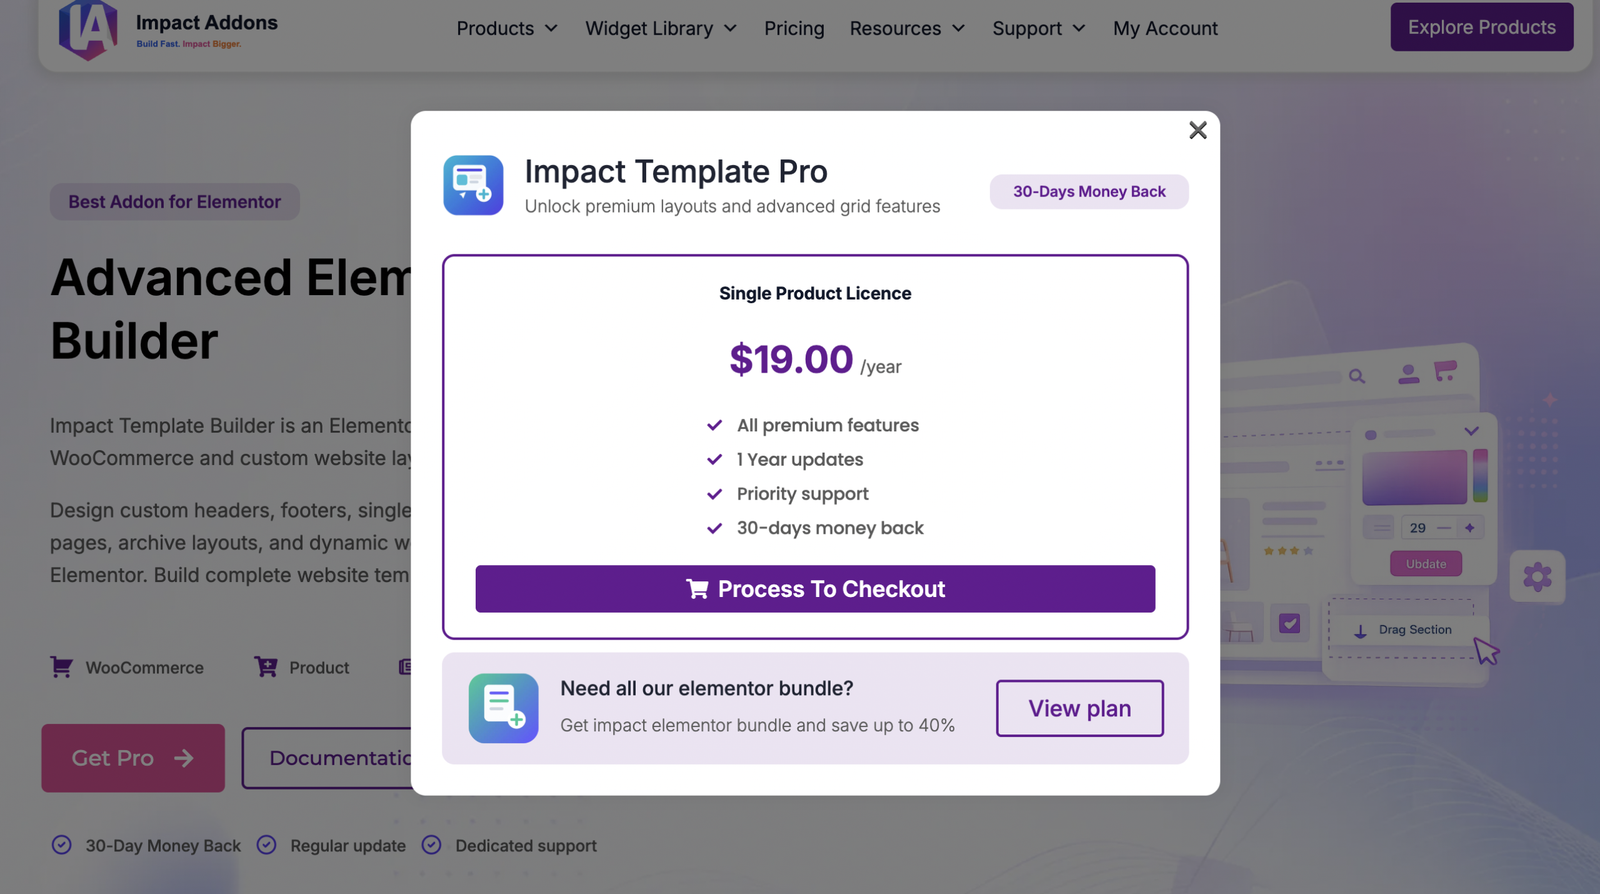
After selecting your preferred plan, click Get Pro or Buy Now.
Review your selected license, premium features, yearly pricing, and support information before continuing.
If you decide later that you need additional Elementor products, you can upgrade to the Elementor Bundle directly from the purchase popup.
Click Process to Checkout to continue.
Step 3 – Complete Checkout
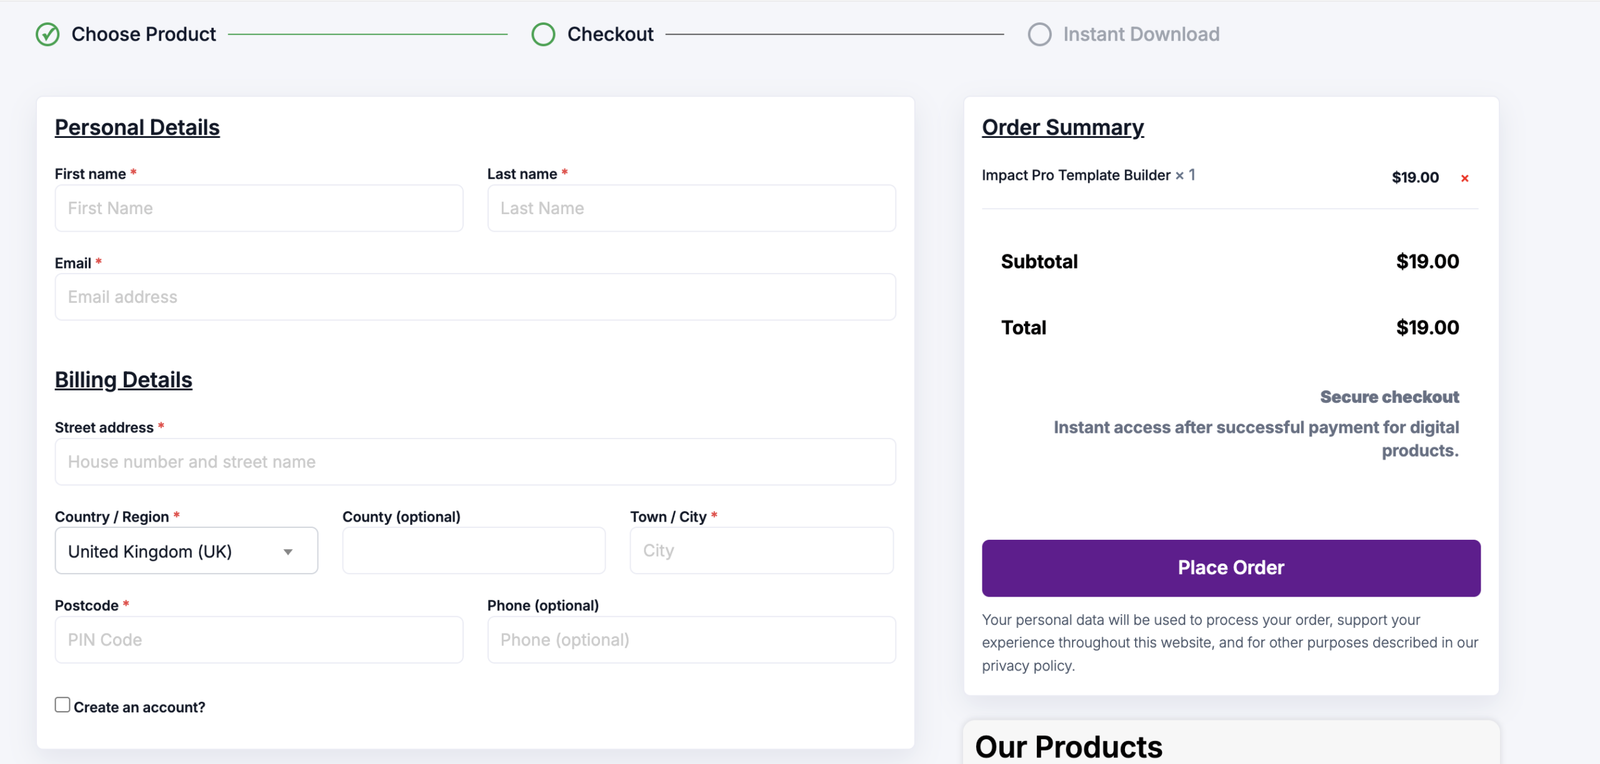
Enter your billing information and complete your order securely.
You’ll be asked to provide:
- First Name
- Last Name
- Email Address
- Billing Address
- Country
- City
- Postal Code
- Phone Number (Optional)
The order summary displays your selected plugin and total amount before payment.
Once payment is successful, you’ll receive instant download access.
Step 4 – Download Impact Template Builder
After completing your purchase, you can download the plugin in two ways.
Download from My Account
Sign in to your Impact Addons account and open the Downloads section.
Download the latest version of Impact Template Builder.
Download from Email
A purchase confirmation email is also sent to your registered email address with a direct download link.
Save the ZIP file to your computer.
You’ll use this file during installation.
Step 5 – Install Impact Template Builder
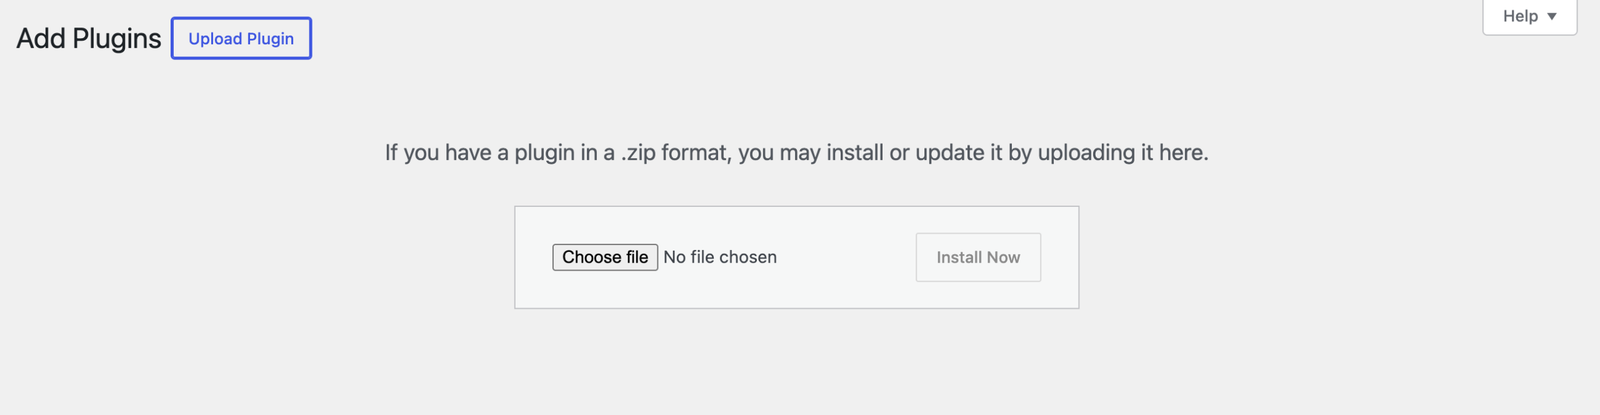
Log in to your WordPress Dashboard.
Navigate to:
Plugins → Add New → Upload Plugin
Click Choose File and select the ZIP file you downloaded.
Click Install Now.
After installation completes, click Activate Plugin.
Good to Know: Impact Template Builder does not require a license key. Simply install, activate, and start building templates immediately.
Step 6 – Enable Template Builder Features
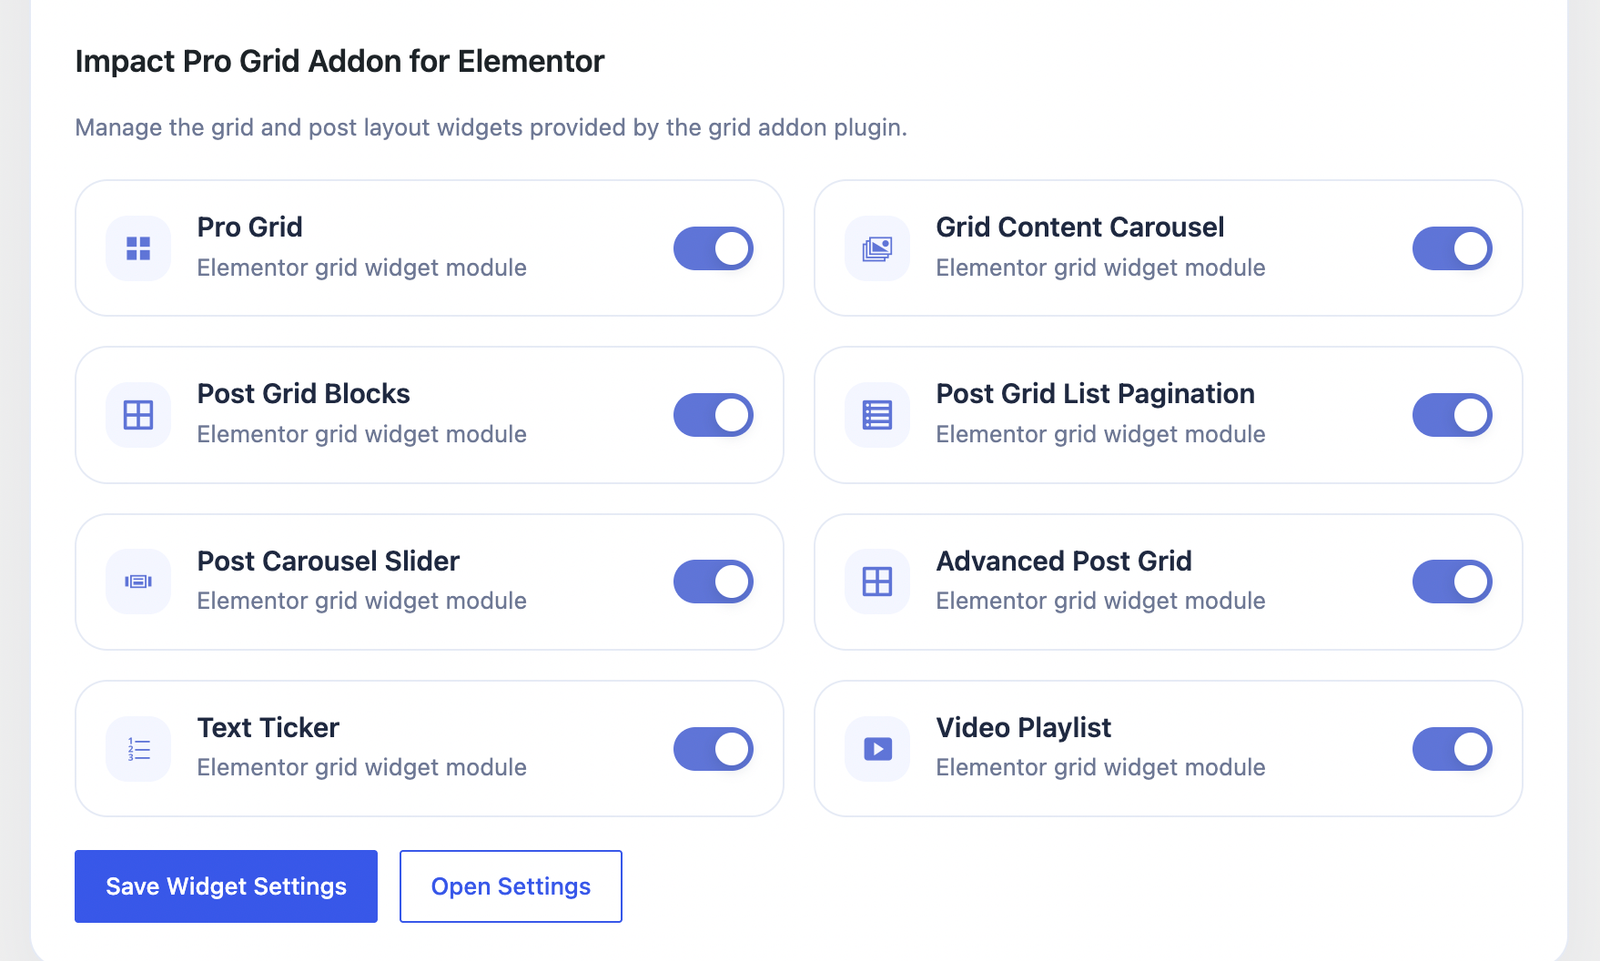
After activation, open the Impact Template Builder Settings page.
Here you can enable or disable the template modules you want to use on your website.
Available modules include:
- Header & Footer
- Single Post
- Single Product
- Archive Template
- WooCommerce Cart
- WooCommerce Checkout
- WooCommerce My Account
- WooCommerce Order Received
- 404 Not Found
- Custom Post Type Template
- Page Template
Enable the required modules and click Save Widget Settings to apply your changes.
Step 7 – Start Building Templates in Elementor
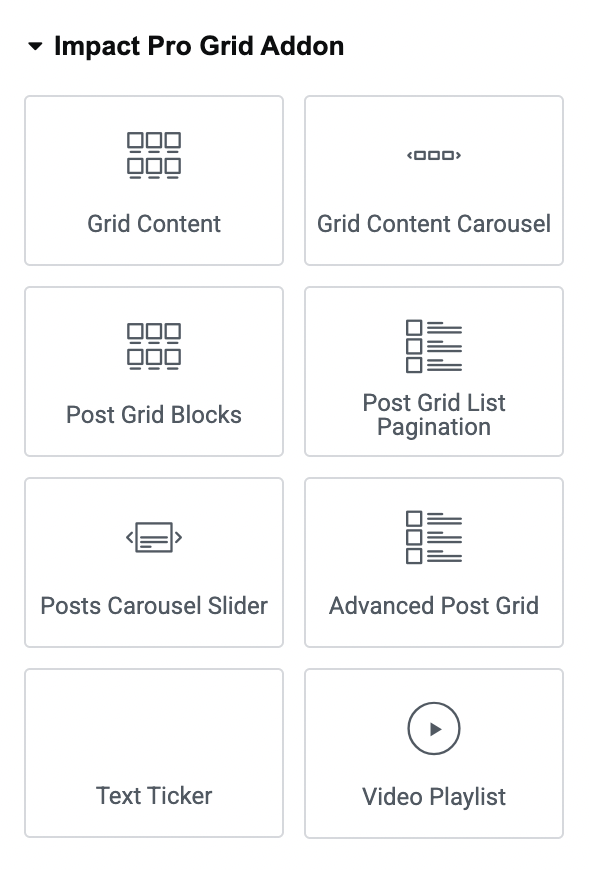
Once the required modules are enabled, open Elementor and create your first template.
Impact Template Builder provides dedicated template types for different areas of your website.
Available template types include:
Header & Footer
Design custom headers and footers for your entire website or specific pages.
Single Post
Create custom blog post layouts with dynamic content.
Single Product
Build professional WooCommerce product pages.
Archive Template
Customize category, tag, author, and blog archive pages.
WooCommerce Cart
Replace the default WooCommerce cart with a fully customized Elementor design.
WooCommerce Checkout
Create a conversion-focused checkout experience.
WooCommerce My Account
Design a personalized customer account dashboard.
WooCommerce Order Received
Customize the order confirmation page shown after successful purchases.
404 Not Found
Create a branded 404 error page to improve user experience.
Custom Post Type Template
Design dynamic templates for any custom post type.
Page Template
Create reusable layouts for WordPress pages.
What’s Next?
Your installation is now complete.
Continue with these detailed tutorials to learn how to create different template types using Impact Template Builder.
- Header & Footer Template
- Single Post Template
- Single Product Template
- Archive Template
- WooCommerce Cart Template
- WooCommerce Checkout Template
- WooCommerce My Account Template
- WooCommerce Order Received Template
- 404 Not Found Template
- Custom Post Type Template
Helpful Resources
Documentation : https://impactaddons.com/documentation/
Changelog : https://impactaddons.com/impact-addons-changelog/
Contact Support : https://impactaddons.com/contact/
Feature Request : https://impactaddons.com/feature-request/
Frequently Asked Questions
Do I need Elementor Pro?
No. Impact Template Builder works with Elementor and provides its own template-building functionality.
Do I need WooCommerce?
WooCommerce is only required if you want to create WooCommerce-specific templates such as Cart, Checkout, My Account, or Single Product templates.
Do I need to activate a license key?
No. Simply install and activate the plugin to start using all purchased features.
Can I build custom headers and footers?
Yes. Impact Template Builder allows you to create fully customizable Header and Footer templates using Elementor.
Can I create WooCommerce templates?
Yes. You can design Cart, Checkout, Single Product, My Account, and Order Received templates with Elementor.
Where can I get help?
Visit our Documentation, Contact page, or submit a Feature Request if you need assistance or would like to suggest new features.